How to Create VMs with Vagrant Like a Pro in 2025

1. Introduction
Vagrant is an open source software application that makes development of virtualized environments easy to set up and maintain. Vagrant offers developers a reproducible and consistent work pattern for designing, provisioning, and managing VMs. By executing a small Vagrantfile, developers are able to provision and define infrastructure while automating setup of their environments on varying operating systems like VirtualBox, VMware, and Hyper-V. Vagrant removes the “works on my machine” issue by having all team members work in the same environment, making it a critical tool for DevOps, software development, and testing.
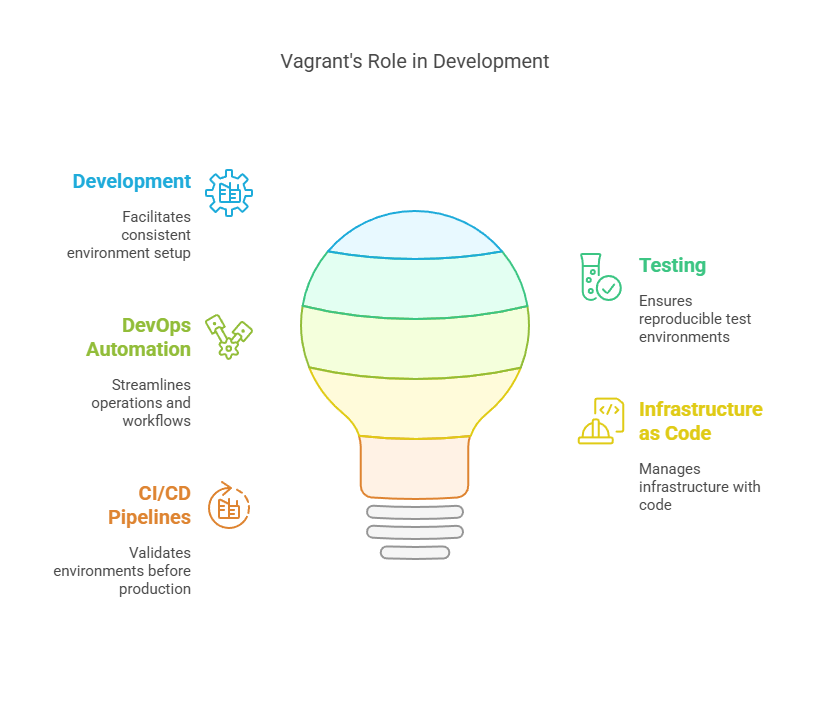
With the advent of containers and cloud-native technologies, some would challenge Vagrant’s usefulness. Yet, in 2025, Vagrant is still a useful tool, particularly for local development, testing, and DevOps automation. Legacy applications, security testing, and infrastructure simulation continue to use VM-based environments, which are still used by many organizations. Vagrant’s capability to work with Ansible, Puppet, and Chef makes it a strong choice for infrastructure as code (IaC) provisioning and management. Also, Vagrant is commonly used for testing CI/CD pipelines so that teams can spin up the same environments quickly for validation purposes before going to production.
In this blog, we will explore how to create VMs with Vagrant, covering the entire process from installation and setup to provisioning virtual machines. You’ll learn how to write a Vagrantfile, manage multiple VMs, and automate infrastructure using Vagrant’s powerful features. Whether you’re a DevOps engineer, software developer, or IT administrator, mastering Vagrant will help you build efficient, scalable, and reproducible development environments. Let’s dive in and get started!
2. Prerequisites
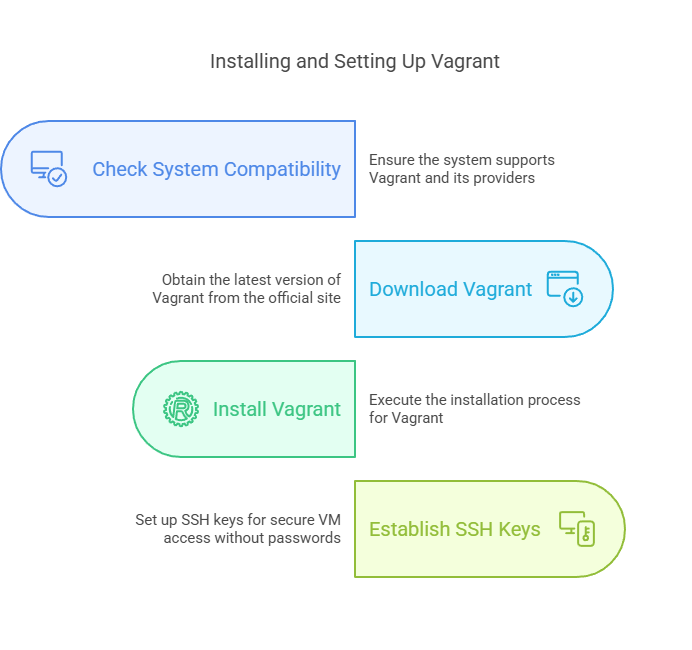
Prior to installing Vagrant, make sure your system is compatible. Vagrant supports Windows, macOS, and Linux, but it needs a virtualization provider to run and manage virtual machines (VMs). The supported providers are VirtualBox (ideal for new users), VMware (for experts), and Hyper-V (for Windows Pro users). Then, download and install the current version of Vagrant (2025 release) from the official website. Upon installation, it’s advisable to establish SSH keys for effortless VM access without passwords, eliminating the requirement of entering passwords while accessing virtual machines. This promotes a secure and efficient development environment.
3. Installing and Setting Up Vagrant
We won’t dive deep into this step, as I’ve already covered it extensively in a separate blog post. To gain a more detailed understanding, I highly recommend checking it out. It provides in-depth insights and step-by-step guidance to help you grasp the concept more effectively.. Feel free to check it out here for a deeper understanding!
4. Creating Your First VM with Vagrant
Once Vagrant is installed, you can quickly spin up a virtual machine (VM) using a simple Vagrantfile. Vagrant automates the provisioning process, ensuring a consistent and reproducible development environment. Below is a step-by-step guide to creating your first VM with Vagrant.
- Install Virtualization Software – Ensure you have VirtualBox, VMware, or Hyper-V installed on your system. I am using VirtualBox on my system.
- Install Vagrant – refer my detailed blog on this as suggested in above.
- Create a Project Directory – Open a terminal/VS code or command prompt and create a new directory.
mkdir vagrant_project && cd vagrant_project
- Initialize Vagrant – Run the following command to create a default Vagrantfile:
vagrant init ubuntu/bionic64
- Start the Virtual Machine – Use the command below to download and launch the VM:
vagrant up- Access the VM – SSH into the running VM using:
vagrant ssh- Manage the VM – To stop, restart, or destroy the VM, use:
vagrant halt   # Stops the VM
vagrant destroy # Removes the VM
5. Customizing Vagrant VMs
Vagrant allows extensive customization of virtual machines to match specific development and testing needs. By modifying the Vagrantfile, users can allocate CPU cores, adjust memory size, and configure networking for their VMs. Vagrant also supports provisioning scripts using tools like Ansible, Puppet, and Shell scripts to automate software installations and configurations.
Additionally, users can define synced folders to share files between the host and VM seamlessly. With custom base boxes, teams can create pre-configured environments, ensuring consistency across projects. These customization options make Vagrant a powerful tool for scalable, reproducible, and automated infrastructure management. Let see some examples
5.1 Changing CPU, RAM, and networking settings
Here’s a code snippet demonstrating how to modify CPU, RAM, and networking settings in the Vagrantfile.
Vagrant.configure("2") do |config|
  config.vm.box = "ubuntu/focal64"
  config.vm.network "private_network", type: "dhcp"
  config.vm.provider "virtualbox" do |vb|
    vb.memory = "2048"
    vb.cpus = 2
  end
end
5.2 Installing Software Automatically
Here’s a code snippet demonstrating how tyou can install software automatically using provisioners in the Vagrantfile.
config.vm.provision "shell", inline: <<-SHELL
  apt-get update
  apt-get install -y nginx
SHELL
you can also setup Ansible for your configuration management. Below code shows same.
config.vm.provision "ansible" do |ansible|
  ansible.playbook = "playbook.yml"
end
5.3 Networking and Port Forwarding in Vagrant
You can use below code to setup port forwarding in Vagrant. Once Fort Forwarding is done then Accessing a web service from your host machine at http://localhost:8080
config.vm.network "forwarded_port", guest: 80, host: 8080
5.4 Multi-VM Environments with Vagrant
You can set up multiple virtual machines using Vagrant by following the code snippet below.
Vagrant.configure("2") do |config|
  config.vm.define "web" do |web|
    web.vm.box = "ubuntu/focal64"
    web.vm.network "private_network", type: "dhcp"
  end

  config.vm.define "db" do |db|
    db.vm.box = "ubuntu/focal64"
    db.vm.network "private_network", type: "dhcp"
  end
end
I’ve created a detailed YouTube video on setting up VMs with Vagrant. I recommend watching it alongside this tutorial to gain a deeper understanding and hands-on experience.
6. Conclusion
In this guide, you’ve learned how to create VMs with Vagrant like a pro in 2025, from setting up your system to customizing virtual machines for development and testing. Vagrant simplifies VM provisioning, configuration, and management, ensuring consistency across environments.
As you get comfortable using Vagrant, try looking into more advanced topics such as Vagrant plugins, multi-machine environments, and cloud integration with AWS and Azure. These features can further optimize your DevOps processes and enhance automation. Continue testing, fine-tune your configurations, and unlock the complete capability of Vagrant to maximize efficiency and productivity in your projects!
Next Step
- Try Vagrant with Ansible – Automate provisioning, software installations, and server configurations.
- Experiment with Vagrant cloud environments – Deploy and test VMs on AWS, Azure, or Google Cloud.
- Refine your setups – Explore advanced configurations to enhance automation and efficiency.
💬 Get involved in the discussion! If you have questions or want to share your experience with Vagrant, drop a comment below. Your insights can help others and spark meaningful conversations in the community. Let’s learn and grow together!
Explore my other articles on DevOps and Cloud for more insights, tips, and tutorials. Stay informed and enhance your skills with practical content designed to boost your knowledge. Happy learning!